How to install RabbitMQ on Mac using Homebrew
How to Mac

In this tutorial, we will learn to install RabbitMQ on Mac using Homebrew.
RabbitMQ is an open source message broker software. It is lightweight and easy to deploy. It supports AMQP (Advanced Message Queuing Protocol), STOMP (Streaming Text Oriented Messaging Protocol), MQTT (Message Queuing Telemetry Transport) and other protocols.
Alright, let's install RabbitMQ on Mac using Homebrew.
Step 1: Install Homebrew
Homebrew is "The missing package manager for macOS".
Installing applications and packages using Homebrew on Mac is super easy. I will recommend you to use Homebrew if you are a developer and use Mac for dev work.
Okay, open Terminal and type the following command.
/usr/bin/ruby -e "$(curl -fsSL https://raw.githubusercontent.com/Homebrew/install/master/install)"
Once you have Homebrew installed on your Mac, type the following command to check the version.
$ brew -v
At the time of writing this tutorial I was using v2.0.1.
$ brew -v
Homebrew 2.0.1
Homebrew/homebrew-core (git revision c0b41; last commit 2019-02-13)
Already have Homebrew?
If you already have Homebrew installed on your Mac then run the following command to update it.
$ brew update
This will update the packages. If you have the latest updates then you will get the following output.
$ brew update
Already up-to-date.
Step 2: Install RabbitMQ using Homebrew
Now, run the following command in Terminal to install RabbitMQ.
$ brew install rabbitmq
Step 3: Add to PATH
RabbitMQ server and CLI script are installed under /usr/local/sbin. Add this to PATH.
export PATH=$PATH:/usr/local/sbin
I have added the following to .bash_profile file.
$ cd
$ vi .bash_profile
Inside the .bash_profile file.
#HOMEBREW RABBITMQ
export HOMEBREW_RABBITMQ=/usr/local/Cellar/rabbitmq/3.7.11/sbin/
export PATH=$PATH:$HOMEBREW_RABBITMQ
Where are the RabbitMQ server and CLI tools present?
RabbitMQ server and CLI tools are generally inside /usr/local/Cellar/rabbitmq/{version}/sbin/ directory.
On my Mac the RabbitMQ server and CLI tools are present inside the /usr/local/Cellar/rabbitmq/3.7.11/sbin/ directory.
YUSUF-MBP:~ yusufshakeel$ cd /usr/local/Cellar/rabbitmq/3.7.11/sbin/
YUSUF-MBP:sbin yusufshakeel$ ls -la
total 1104
drwxr-xr-x  10 yusufshakeel  admin     320 Feb 18 15:37 .
drwxr-xr-x  36 yusufshakeel  admin    1152 Feb 18 15:37 ..
-r-xr-xr-x   1 yusufshakeel  admin  468026 Jan 31 23:15 cuttlefish
-r-xr-xr-x   1 yusufshakeel  admin    2152 Feb 18 15:37 rabbitmq-defaults
-r-xr-xr-x   1 yusufshakeel  admin    1244 Jan 31 23:15 rabbitmq-diagnostics
-r-xr-xr-x   1 yusufshakeel  admin   15632 Feb 18 15:37 rabbitmq-env
-r-xr-xr-x   1 yusufshakeel  admin    1240 Jan 31 23:15 rabbitmq-plugins
-r-xr-xr-x   1 yusufshakeel  admin   16412 Jan 31 23:15 rabbitmq-server
-r-xr-xr-x   1 yusufshakeel  admin   40427 Jan 31 23:15 rabbitmqadmin
-r-xr-xr-x   1 yusufshakeel  admin    1235 Jan 31 23:15 rabbitmqctl
Step 4: Start RabbitMQ server
To start the RabbitMQ run the following command.
$ rabbitmq-server

  ##  ##
  ##  ##      RabbitMQ 3.7.11. Copyright (C) 2007-2019 Pivotal Software, Inc.
  ##########  Licensed under the MPL.  See http://www.rabbitmq.com/
  ######  ##
  ##########  Logs: /usr/local/var/log/rabbitmq/rabbit@localhost.log
                    /usr/local/var/log/rabbitmq/rabbit@localhost_upgrade.log

              Starting broker...
 completed with 6 plugins.
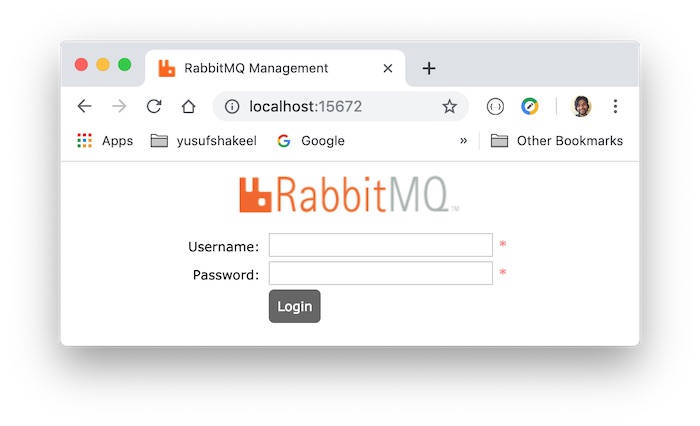
Step 5: Access dashboard
We can access RabbitMQ web dashboard by going to http://localhost:15672 so, open the link in your favourite browser.
The default username and password is guest and guest respectively.
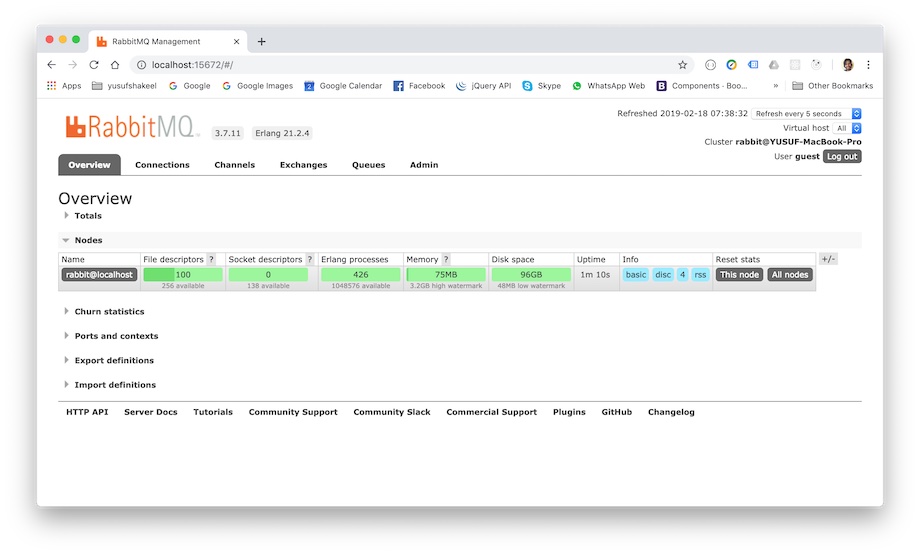
RabbitMQ dashboard.
Step 6: Stop RabbitMQ server
To stop RabbitMQ press Ctrl + C.
$ rabbitmq-server

  ##  ##
  ##  ##      RabbitMQ 3.7.11. Copyright (C) 2007-2019 Pivotal Software, Inc.
  ##########  Licensed under the MPL.  See http://www.rabbitmq.com/
  ######  ##
  ##########  Logs: /usr/local/var/log/rabbitmq/rabbit@localhost.log
                    /usr/local/var/log/rabbitmq/rabbit@localhost_upgrade.log

              Starting broker...
 completed with 6 plugins.

^C
Stopping and halting node rabbit@localhost ...
Gracefully halting Erlang VM
Possible errors
We may get an error like The `brew link` step did not complete successfully when trying to install RabbitMQ.
$ brew install rabbitmq
Updating Homebrew...
==> Downloading https://github.com/rabbitmq/rabbitmq-server/releases/download/v3.7.11/rabbitmq-server-generic-unix-3.7.11.tar.xz
Already downloaded: /Users/yusufshakeel/Library/Caches/Homebrew/downloads/22c0baff2677e170e884f8e464f8f563b4a566e722aae34892d13b4ac1871e2c--rabbitmq-server-generic-unix-3.7.11.tar.xz
==> /usr/bin/unzip -qq -j /usr/local/Cellar/rabbitmq/3.7.11/plugins/rabbitmq_management-3.7.11.ez rabbitmq_management-3.7.11/priv/www/cli/ra
Error: The `brew link` step did not complete successfully
The formula built, but is not symlinked into /usr/local
Could not symlink sbin/cuttlefish
/usr/local/sbin is not writable.

You can try again using:
  brew link rabbitmq
==> Caveats
Management Plugin enabled by default at http://localhost:15672

Bash completion has been installed to:
  /usr/local/etc/bash_completion.d

To have launchd start rabbitmq now and restart at login:
  brew services start rabbitmq
Or, if you don't want/need a background service you can just run:
  rabbitmq-server
==> Summary
  /usr/local/Cellar/rabbitmq/3.7.11: 235 files, 13.8MB, built in 10 seconds
To fix this we have to run the following command.
$ brew link rabbitmq
Linking /usr/local/Cellar/rabbitmq/3.7.11...
Error: Could not symlink sbin/cuttlefish
/usr/local/sbin is not writable.
We get the error /usr/local/sbin is not writable message.
This is because /usr/local/sbin directory is not present. So, go to /etc/paths.d directory and created a file named usr_local_sbin and write the path /usr/local/sbin inside the file and save it.
$ cd /etc/paths.d/
$ sudo vi usr_local_sbin
Inside usr_local_sbin file:
/usr/local/sbin
Now, create /usr/local/sbin directory.
$ cd /usr/local
$ sudo mkdir sbin

$ ls -la
drwxr-xr-x    2 root          wheel    64 Feb 18 18:06 sbin
Now change the ownership. Type whoami to get your username. Mine is yusufshakeel so, I will use the following.
$ sudo chown yusufshakeel:admin sbin

$ ls -la
drwxr-xr-x    2 yusufshakeel  admin    64 Feb 18 18:06 sbin
Now run the brew link rabbitmq command.
$ brew link rabbitmq
Linking /usr/local/Cellar/rabbitmq/3.7.11... 23 symlinks created
Linking is done!
Please share this tutorial on social media if you find it useful and interesting. See you again in the next tutorial. Have fun :-)
ADVERTISEMENT