How to install LAMP stack on Ubuntu
How to Ubuntu
In this tutorial we will learn to install LAMP stack on Ubuntu.
Note! This step will work for Ubuntu 16 and newer version like 18.04 LTS.
LAMP stack
LAMP stack stands for Linux Apache MySQL and Php. Ubuntu is Linux so, we have to install Apache, MySQL database and Php.
Getting started
Before we start lets go ahead and update the packages using the following command.
$ sudo apt update
Step #1: Install Apache
We will start by installing Apache2. Open Terminal and run the following command.
$ sudo apt install apache2
Note! In the above command we are using sudo so, you will be prompted to enter your password.
Allow web traffic
Now we have to allow HTTP and HTTPS traffic via firewall. For this we will run the following command.
$ sudo ufw app list
This will list the apps.
Available applications:
  Apache
  Apache Full
  Apache Secure
  CUPS
We have to allow HTTP and HTTPS traffic to Apache Full on port 80 and 443.
To see the details we can run the following command.
$ sudo ufw app info "Apache Full"
Output:
Profile: Apache Full
Title: Web Server (HTTP,HTTPS)
Description: Apache v2 is the next generation of the omnipresent Apache web
server.

Ports:
  80,443/tcp
To enable traffic we have to run the following command.
$ sudo ufw allow in "Apache Full"
On success we will be able to open localhost in the browser and get the following output.

Tips
To check the status of apache2 run the following command.
$ sudo systemctl status apache2.service
To stop apache2 run the following command.
$ sudo systemctl stop apache2.service
To start apache2 run the following command.
$ sudo systemctl start apache2.service
To restart apache2 run the following command.
$ sudo systemctl restart apache2.service
Document root
By default, the document root directory is /var/www/html so, we have to place our website project files inside that directory.
Step #2: Install MySQL
To install MySQL database run the following command.
$ sudo apt install mysql-server mysql-client
Setting up MySQL by running the following command. This will help you to create a login password for MySQL.
$ sudo mysql_secure_installation
Follow the instructions and set the password.
Step #3: Install Php
Run the following command to install Php.
$ sudo apt install php libapache2-mod-php php-mysql
On successful installation you will be able to check the version of Php by running the following command.
$ php -v
PHP 7.2.5-0ubuntu0.18.04.1 (cli) (built: May  9 2018 17:21:02) ( NTS )
Copyright (c) 1997-2018 The PHP Group
Zend Engine v3.2.0, Copyright (c) 1998-2018 Zend Technologies
    with Zend OPcache v7.2.5-0ubuntu0.18.04.1, Copyright (c) 1999-2018, by Zend Technologies
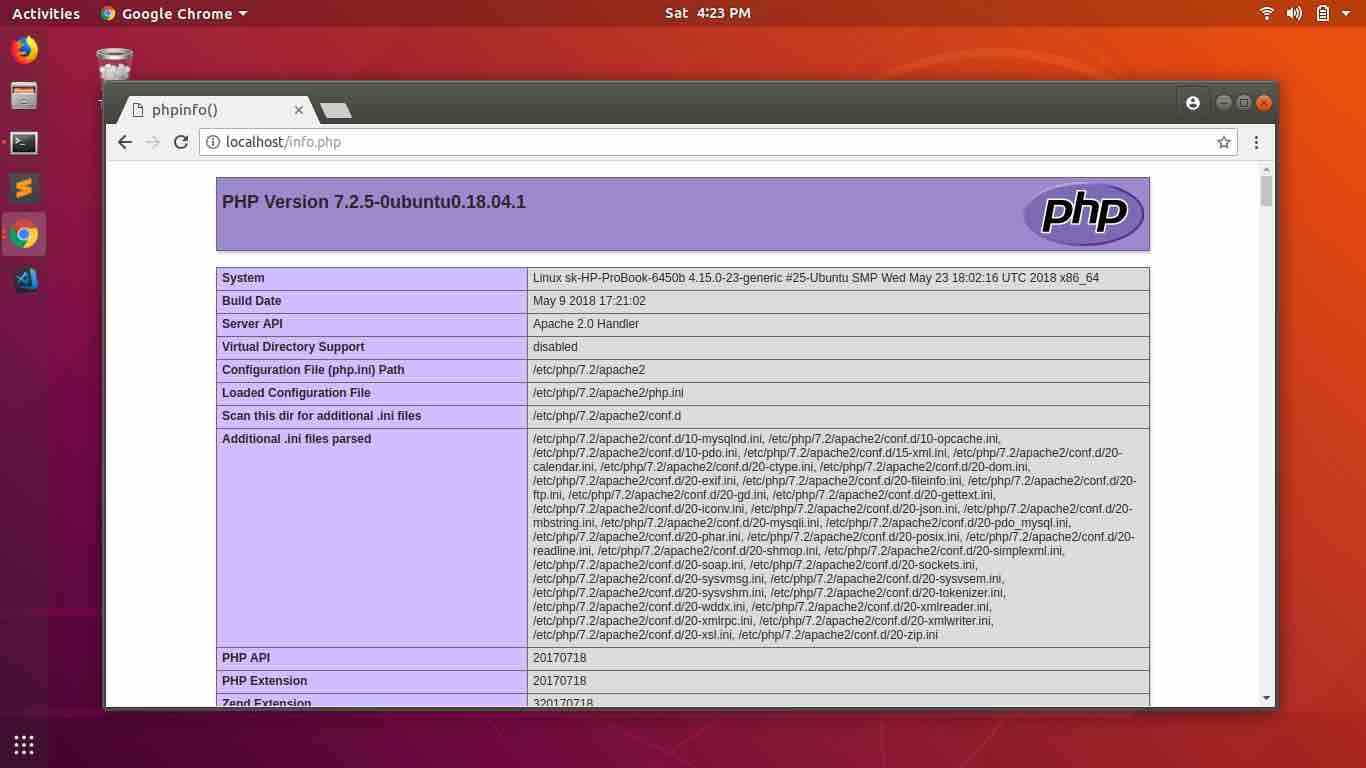
phpinfo
For testing purpose you can cd into /var/www/html directory and create a new file lets say info.php and write the following code.
<?php
phpinfo();
?>
Now, if you visit localhost/info.php you will get to see a similar output as shown below.
ADVERTISEMENT